
It's not difficult to create your own pretty straight pins. They are fast, easy, and make thoughtful gifts. Pincushions and needle books are fun for swaps but they are infinitely more attractive with some custom pins.
Here's how to do-it-yourself:

Step 1: Gather Materials
- Straight pins.
- I like long, glass head, quilting pins but this is up to you.
- Beads. Go wild!
- Adhesive.
- I use E-6000 (Found at many craft and hardware stores...and just good to have around the house.)
- Toothpicks or other applicators.
- Surface protection.
- I put down some paper to protect the work space and dispose of sticky toothpicks.
- Drying "rack."
- Pincushion or a placemat/towel/small quilt hung over the back of a chair works too.
Step 2: Glue It
- Apply a dab of adhesive to the base of the pin head.
- Slide on a bead and press into the glue for a few seconds.
- Repeat for a layered effect.
Step 3: Let if Dry
You can make a ton or just a few.
Enjoy!
As a housekeeping note, I'm claiming my blog with Bloglovin' today. I use it to follow bloggers whose work I enjoy; it compiles new posts in an easy format so I can browse everyone I like at one time. (It's a great way to spot trends in the blogosphere and keep up with sew alongs, giveaways, and news too.)
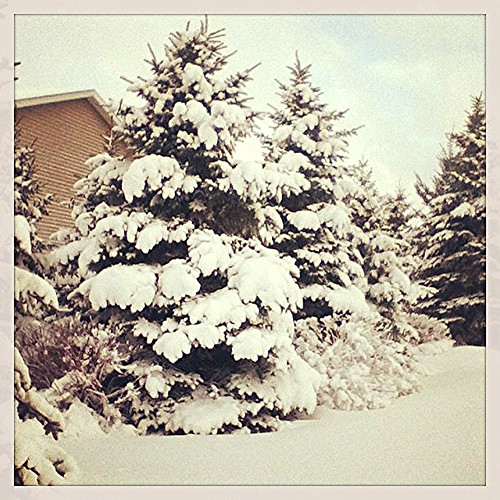
Here are just a few scenes from around here this week:
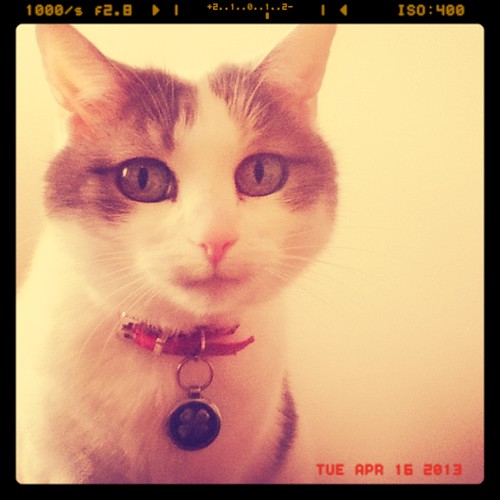
Panda
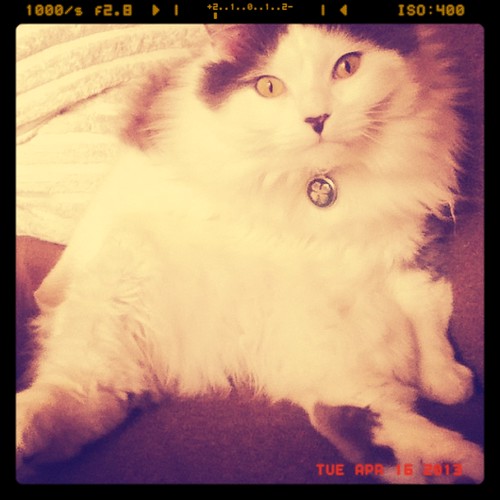
Probie
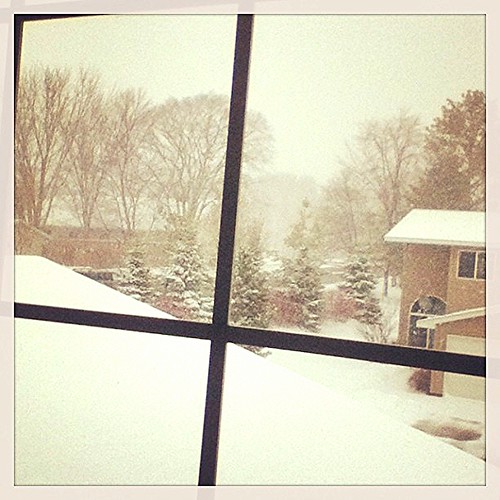
Happy Spring from Minnesota!
Thanks for stopping by!
-Kristin
No comments:
Post a Comment
Thank you again for visiting AndChips!